|
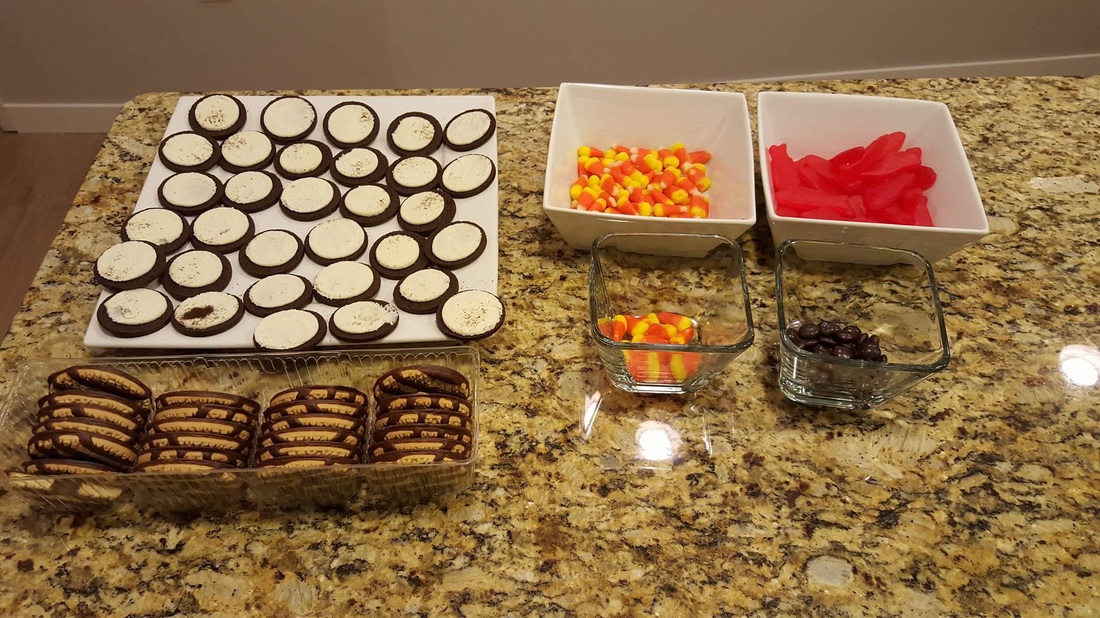
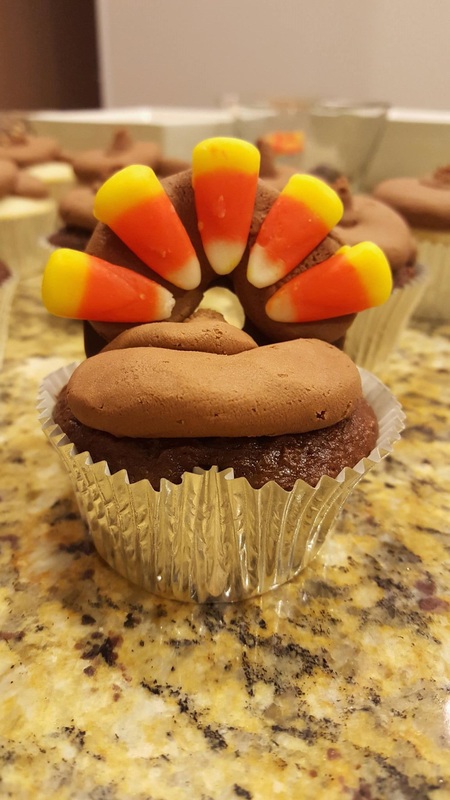
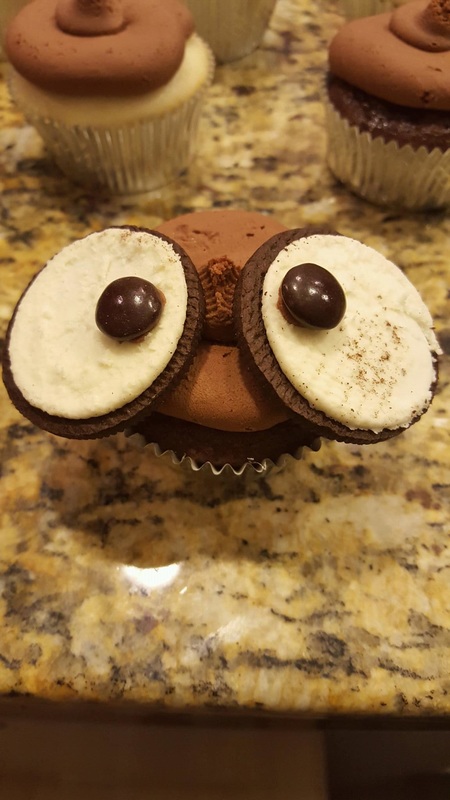
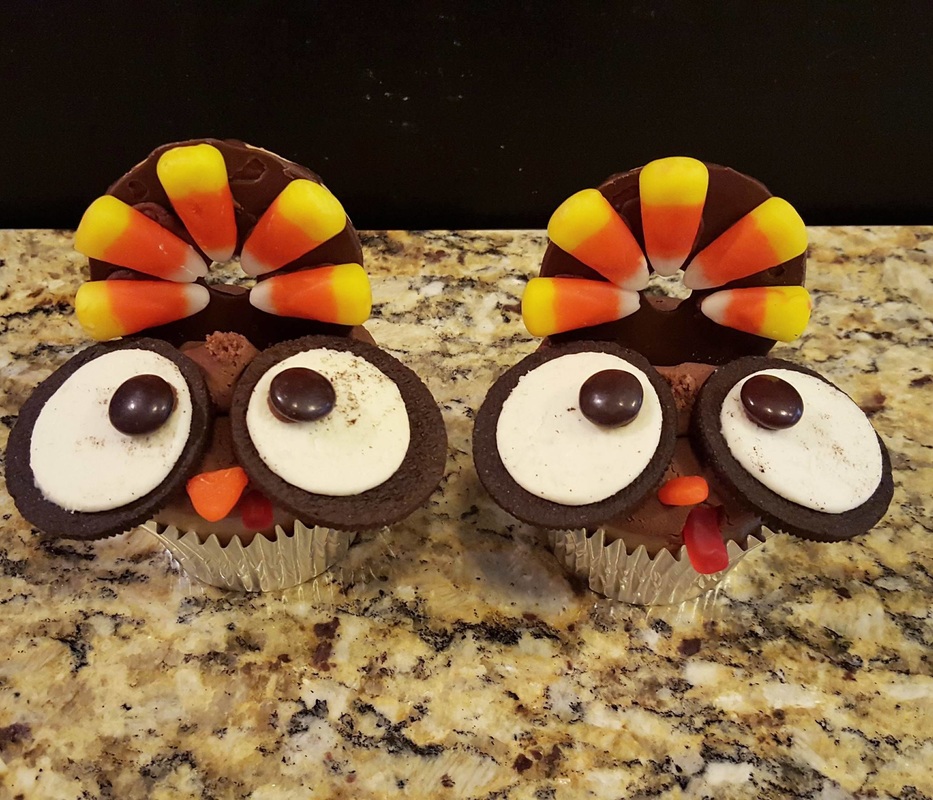
Happy December everyone!! I started writing about what I was thankful for while driving to the Cities on Thanksgiving when suddenly my post disappeared. So if this post seems late, it is, but I am still thankful! I am thankful for my family and friends who have supported me through this process of starting a business and helping me achieve my dream of being my very own boss. I am so lucky that they are still supporting me today and will continue this support in the future! Being able to share my creations with my extended family over Thanksgiving was so much fun too! It reminds me that I have support all over the place. I am thankful for my full time job. With the chaos that has been going on with the nickname vote, I had to take a step back and remind myself that I am lucky that I have a job. I have the best coworkers that I could ask for. They are always willing to test my products, support me with ideas and allow me to have time off to continue my dream on the side. Being able to use the kitchen space in the alumni center is something I am very thankful for. Having this option allows for shorter trips to a food safe kitchen, shorter baking time and more opportunity to bake for the public. My coworkers also encouraged me to become a vendor for the Go Show, a wedding and event planning show in January. I never thought I would be doing a vendor show so soon; it was always an idea in the back of my head that I was too scared to do! Last but not least, I am thankful my turkeys made the 5 hour trip in mostly one piece. Below is my tutorial on how to make them! 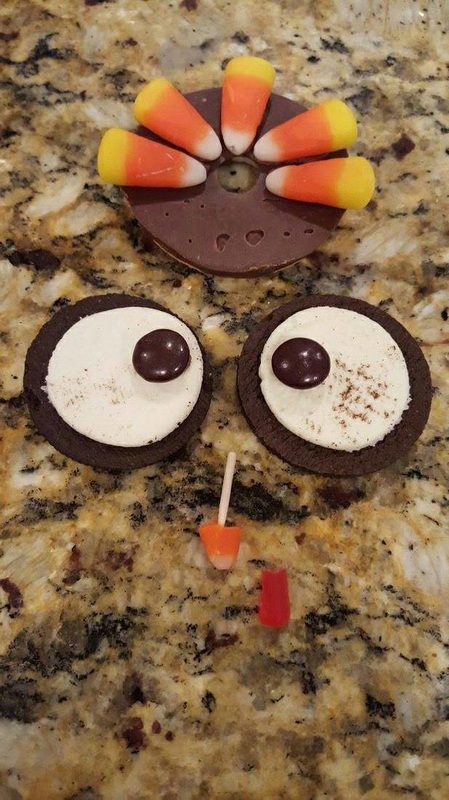 Next, frost your Fudge Striped cookie and place the candy corn to make the turkey feathers. Add a drop of frosting on the Oreo's to get the brown M&Ms to stick to act as the eye balls. Insert a toothpick into the orange tip of a candy corn for the beak. Cut the tail of the Swedish fish in half to make the gobbler. Fun fact: they're actually called snoods! Who knew?
0 Comments
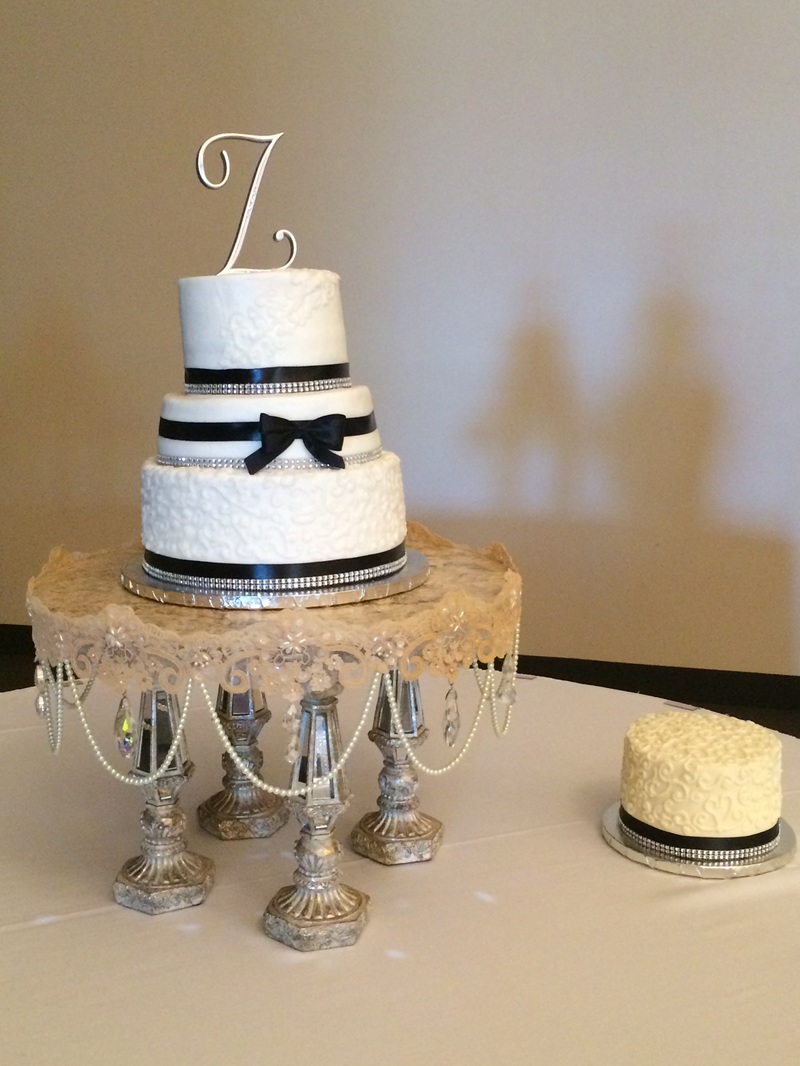
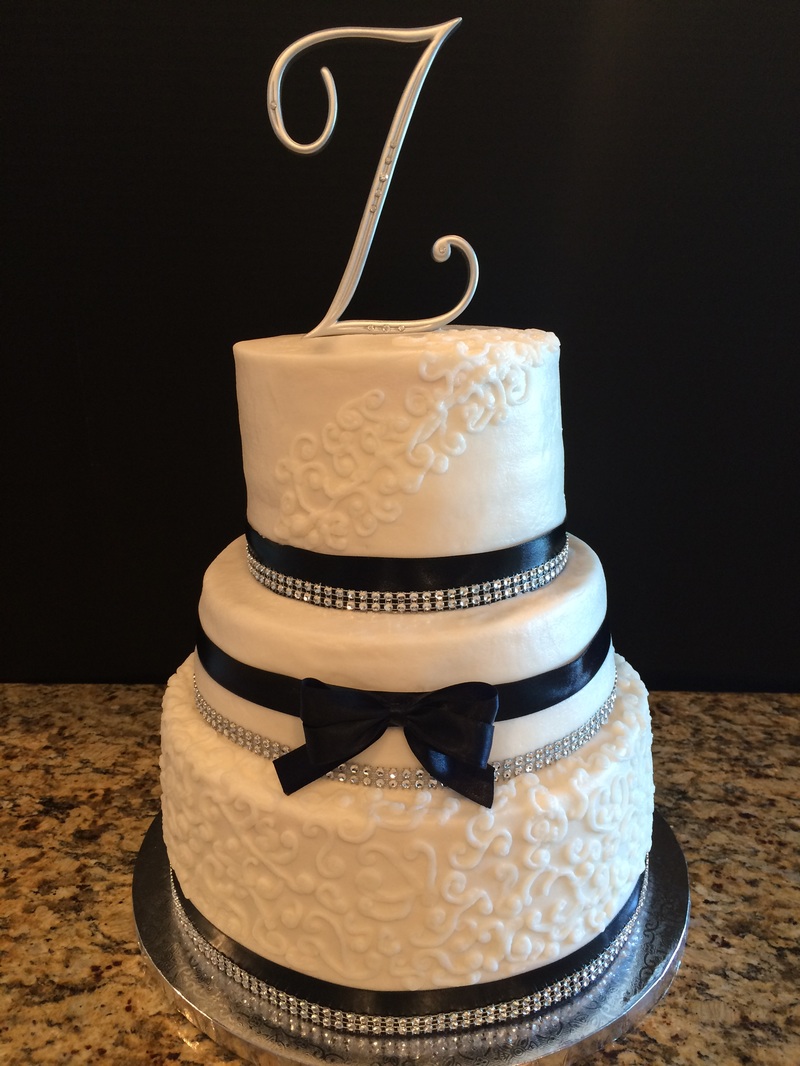
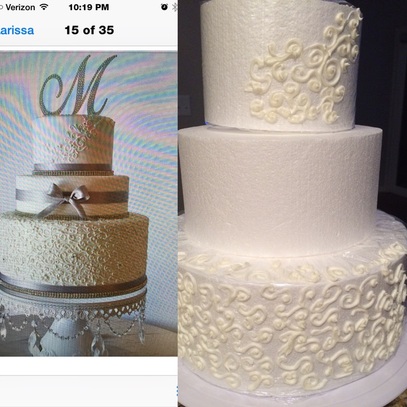 This last week was full of wedding cake baking, practicing and decorating! I had to practice a bit before actually decorating this cake since this decorating technique was new to me. You know what they say, practice makes perfect! 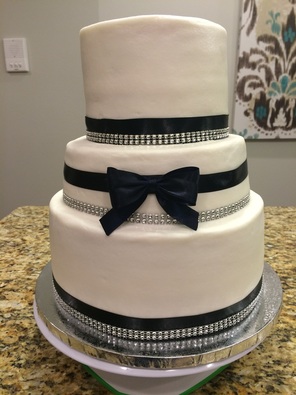 After baking, the next step is to frost the cake. To see my time lapse video of the frosting process, click here! This is the quick and easy way to show you what goes into frosting the cake. I've decided that I need to invest in a cake lifter so I don't have to drop the top layers down onto the lower layers. The more layers I have to stack, the more dangerous it gets. Disclaimer: the mallet at the end of the video is used to push the dowel all the way through the layers of cake and the boards the cakes are on. It's the secret trick of bakers who aren't strong enough to push the dowel all the way through a layer of cardboard. After getting the cake stacked and smoothed to my liking, it was time to add the ribbon. I have used ribbon on a cake before but for some reason, this ribbon wasn't being very friendly. After about 2 hours of struggling with the ribbon to stay on the cake and cooperate with me, it was time to move onto the scrolling! Here is another time lapse video of the scrolling process. It didn't take me as long as I thought it would and it was actually pretty fun! 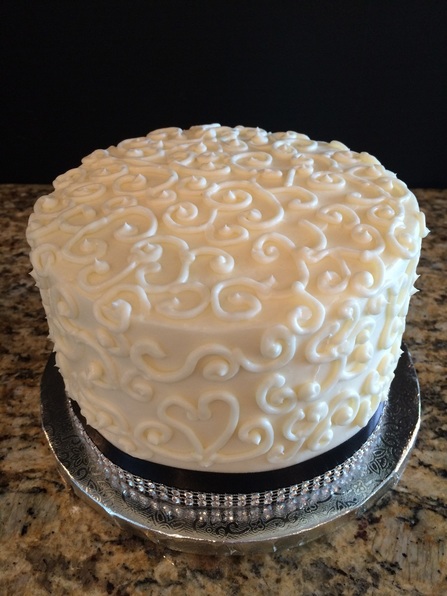 Here is the final product! Once I finished this, I moved onto the small red velvet cake that was used for the cake cutting. While frosting the red velvet, I decided to add the scrolling to finish the look. Having the cake with only ribbon, didn't seem to match with the theme that I was trying to create. Sometimes you have to make a spur of the moment decision during the process. People who know me, know that I am not good at spur of the moment decisions, but I am learning! A few minutes later, the cakes were complete. After all the work I put into each of my cake orders, I know I am in the right business because I still love it, even on little sleep and covered in frosting. Welcome to my blog! Here, I will be posting about my adventures as a young entrepreneur in the bakery business. You will be able to get a behind the scenes look at what it takes to keep this business going and everything that is put into cake decorating. Feel free to visit my previous blog at https://lindsaybarta.wordpress.com/ to see what I have done in the past.
Thank you for visiting my website and blog! I hope you enjoyed your glimpse into my dream that is turning into a reality! -Lindsay |
AuthorI am Lindsay, the owner of Lb Cakes, LLC. I will be updating my blog regarding my adventures of being a young entrepreneur in the bakery business. Archives
December 2016
Categories
All
|

 RSS Feed